Advertisement
Google Ad Slot: content-top
Spring Boot with JPA & Hibernate
Spring Boot provides seamless integration with JPA (Java Persistence API) and Hibernate for handling database operations.
What is JPA & Hibernate?
- JPA (Java Persistence API): A specification for object-relational mapping (ORM) in Java.
- Hibernate: A popular JPA implementation used to interact with relational databases.
Spring Boot uses Spring Data JPA, which simplifies database interactions with less boilerplate code.
Setting Up Spring Boot with JPA & Hibernate
Step 1: Add Dependencies (pom.xml)
<dependencies>
<!-- Spring Boot Starter JPA -->
<dependency>
<groupId>org.springframework.boot</groupId>
<artifactId>spring-boot-starter-data-jpa</artifactId>
</dependency>
<!-- MySQL Driver -->
<dependency>
<groupId>com.mysql</groupId>
<artifactId>mysql-connector-j</artifactId>
<version>9.1.0</version>
</dependency>
<!-- Spring Boot Starter Web -->
<dependency>
<groupId>org.springframework.boot</groupId>
<artifactId>spring-boot-starter-web</artifactId>
</dependency>
</dependencies>
Step 2: Configure application.properties
# ✅ Database Configuration
spring.datasource.url=jdbc:mysql://localhost:3306/mydb
spring.datasource.username=root
spring.datasource.password=
# ✅ Hibernate Configuration
spring.jpa.hibernate.ddl-auto=update
spring.jpa.show-sql=true
spring.jpa.database-platform=org.hibernate.dialect.MySQL8Dialect
✅ spring.jpa.hibernate.ddl-auto=update
create: Creates tables every time (deletes old data).update: Updates schema (recommended).none: No automatic changes.
Step 3: Create Entity Class (User.java)
import jakarta.persistence.*;
@Entity
@Table(name = "users") // Table name in MySQL
public class User {
@Id
@GeneratedValue(strategy = GenerationType.IDENTITY) // Auto-increment ID
private Long id;
@Column(nullable = false)
private String name;
@Column(unique = true, nullable = false)
private String email;
// Constructors
public User() {}
public User(String name, String email) {
this.name = name;
this.email = email;
}
// Getters & Setters
public Long getId() { return id; }
public void setId(Long id) { this.id = id; }
public String getName() { return name; }
public void setName(String name) { this.name = name; }
public String getEmail() { return email; }
public void setEmail(String email) { this.email = email; }
}
Step 4: Create Repository (UserRepository.java)
import org.springframework.data.jpa.repository.JpaRepository;
import org.springframework.stereotype.Repository;
@Repository
public interface UserRepository extends JpaRepository<User, Long> {
// Custom queries can be added here
}
✅ Spring Data JPA automatically provides CRUD operations!
findAll(),findById(id),save(entity),deleteById(id).
Step 5: Create Service Layer (UserService.java)
import org.springframework.beans.factory.annotation.Autowired;
import org.springframework.stereotype.Service;
import java.util.List;
import java.util.Optional;
@Service
public class UserService {
@Autowired
private UserRepository userRepository;
// Get all users
public List<User> getAllUsers() {
return userRepository.findAll();
}
// Get user by ID
public Optional<User> getUserById(Long id) {
return userRepository.findById(id);
}
// Save user
public User saveUser(User user) {
return userRepository.save(user);
}
// Update user
public void updateUser(User user) {
userRepository.save(user);
}
// Delete user
public void deleteUser(Long id) {
userRepository.deleteById(id);
}
}
Step 6: Create REST Controller (UserController.java)
import org.springframework.beans.factory.annotation.Autowired;
import org.springframework.web.bind.annotation.*;
import java.util.List;
import java.util.Optional;
@RestController
@RequestMapping("/users")
public class UserController {
@Autowired
private UserService userService;
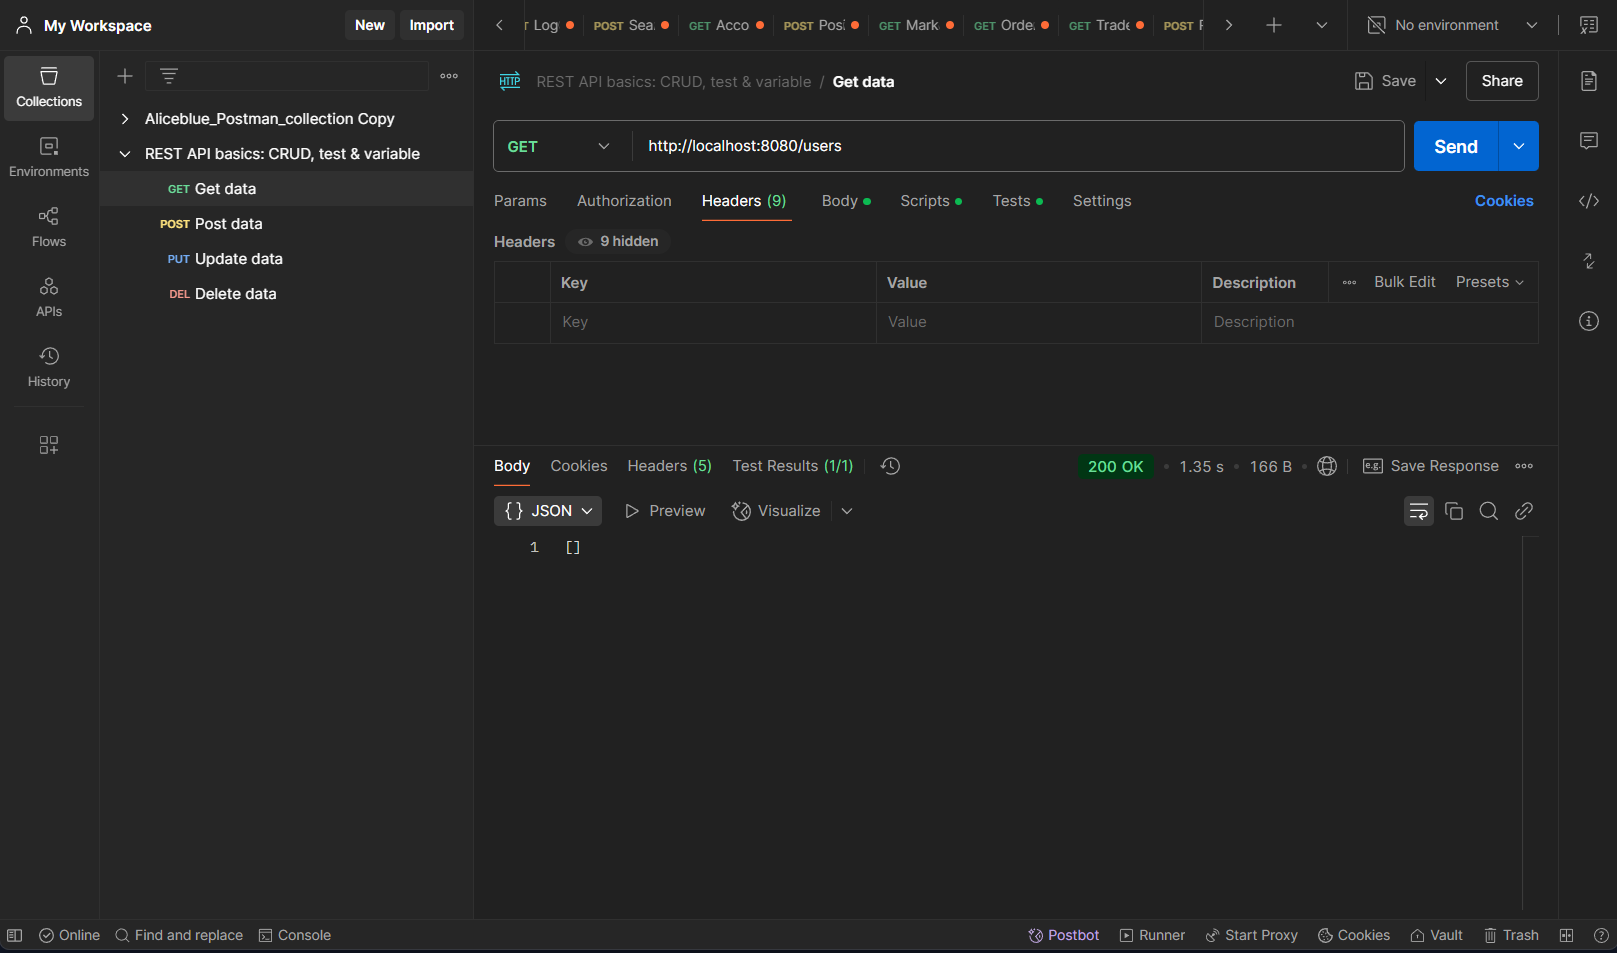
// ✅ Get all users
@GetMapping
public List<User> getAllUsers() {
return userService.getAllUsers();
}
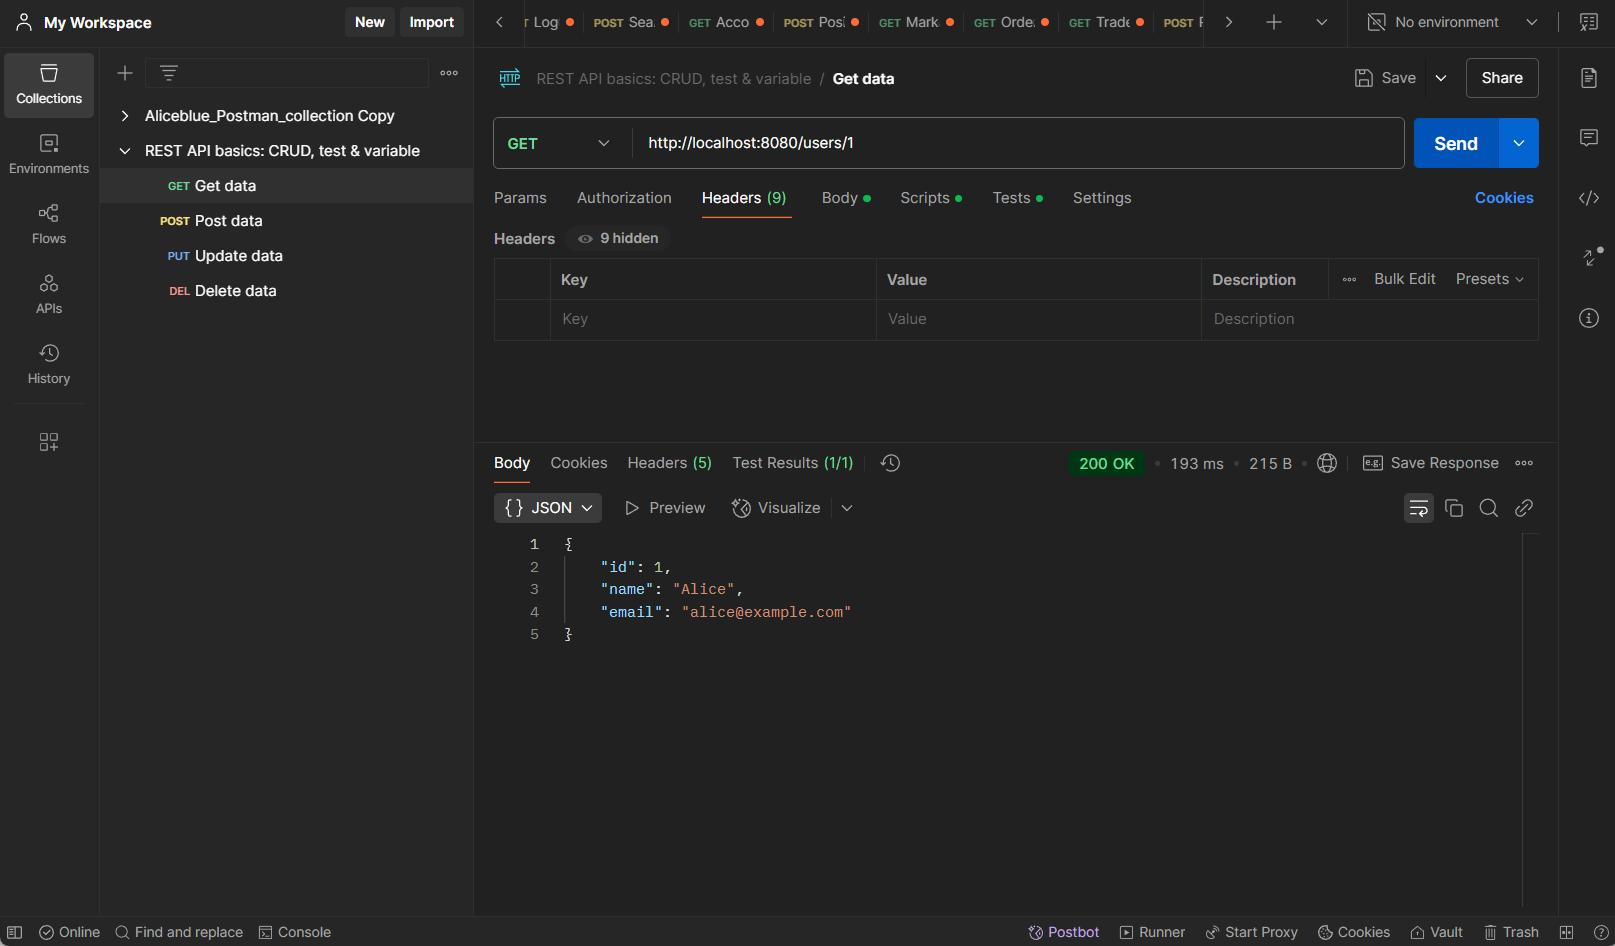
// ✅ Get user by ID
@GetMapping("/{id}")
public Optional<User> getUserById(@PathVariable Long id) {
return userService.getUserById(id);
}
// ✅ Create user
@PostMapping
public User createUser(@RequestBody User user) {
return userService.saveUser(user);
}
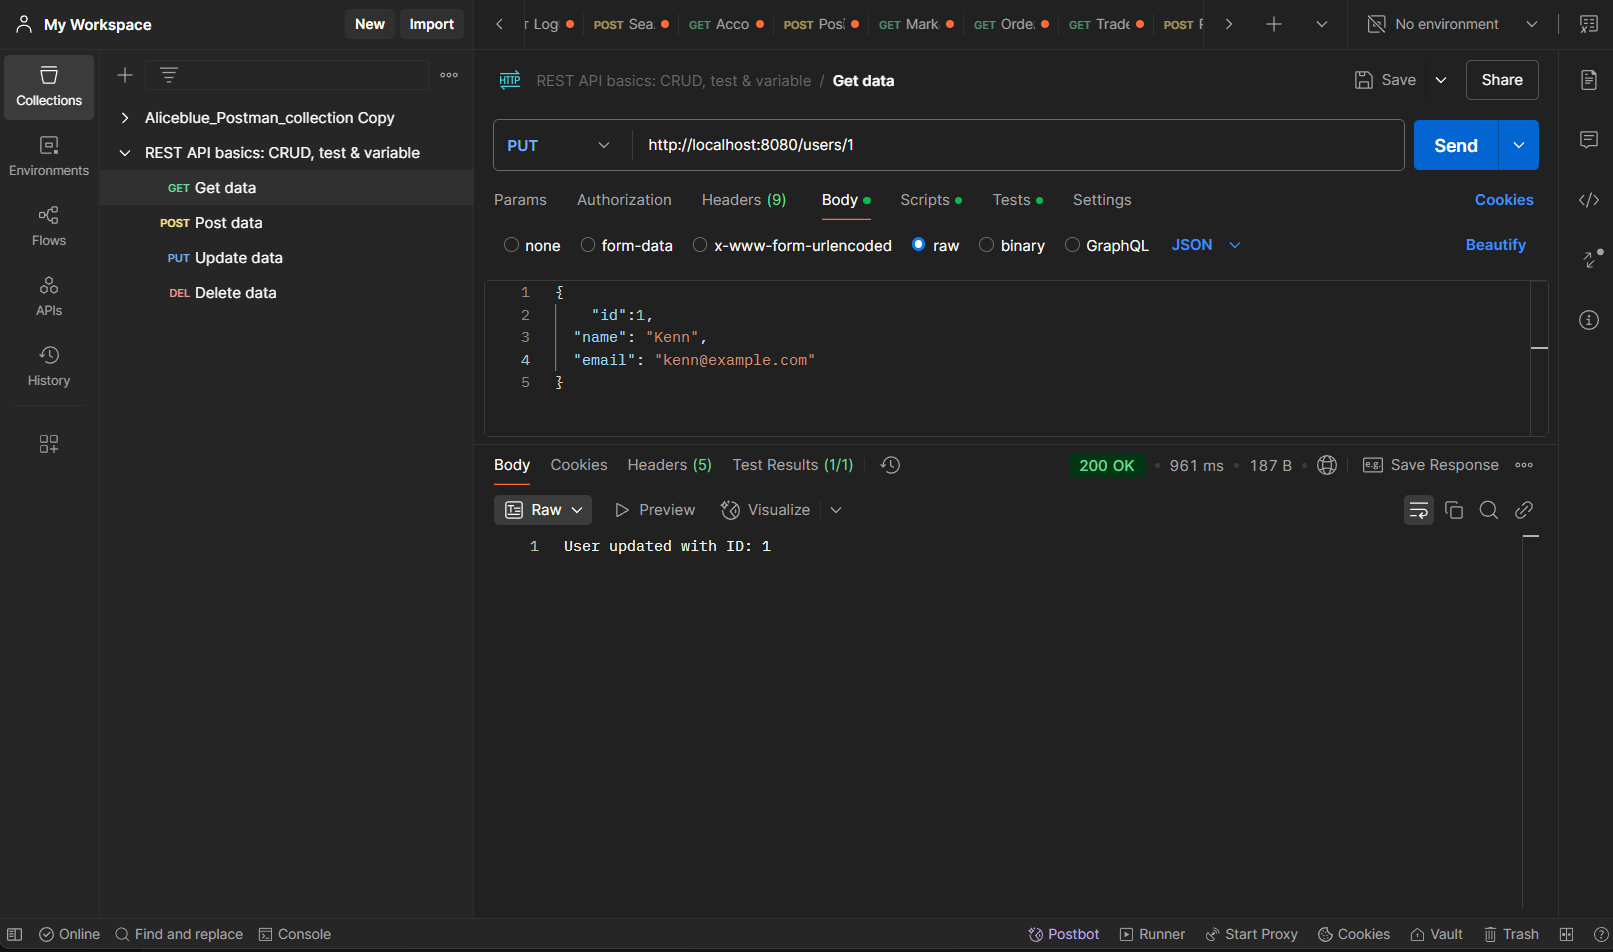
// ✅ Update user
@PutMapping("/{id}")
public String updateUser(@RequestBody User user) {
userService.updateUser(user);
return "User updated with ID: " + user.getId();
}
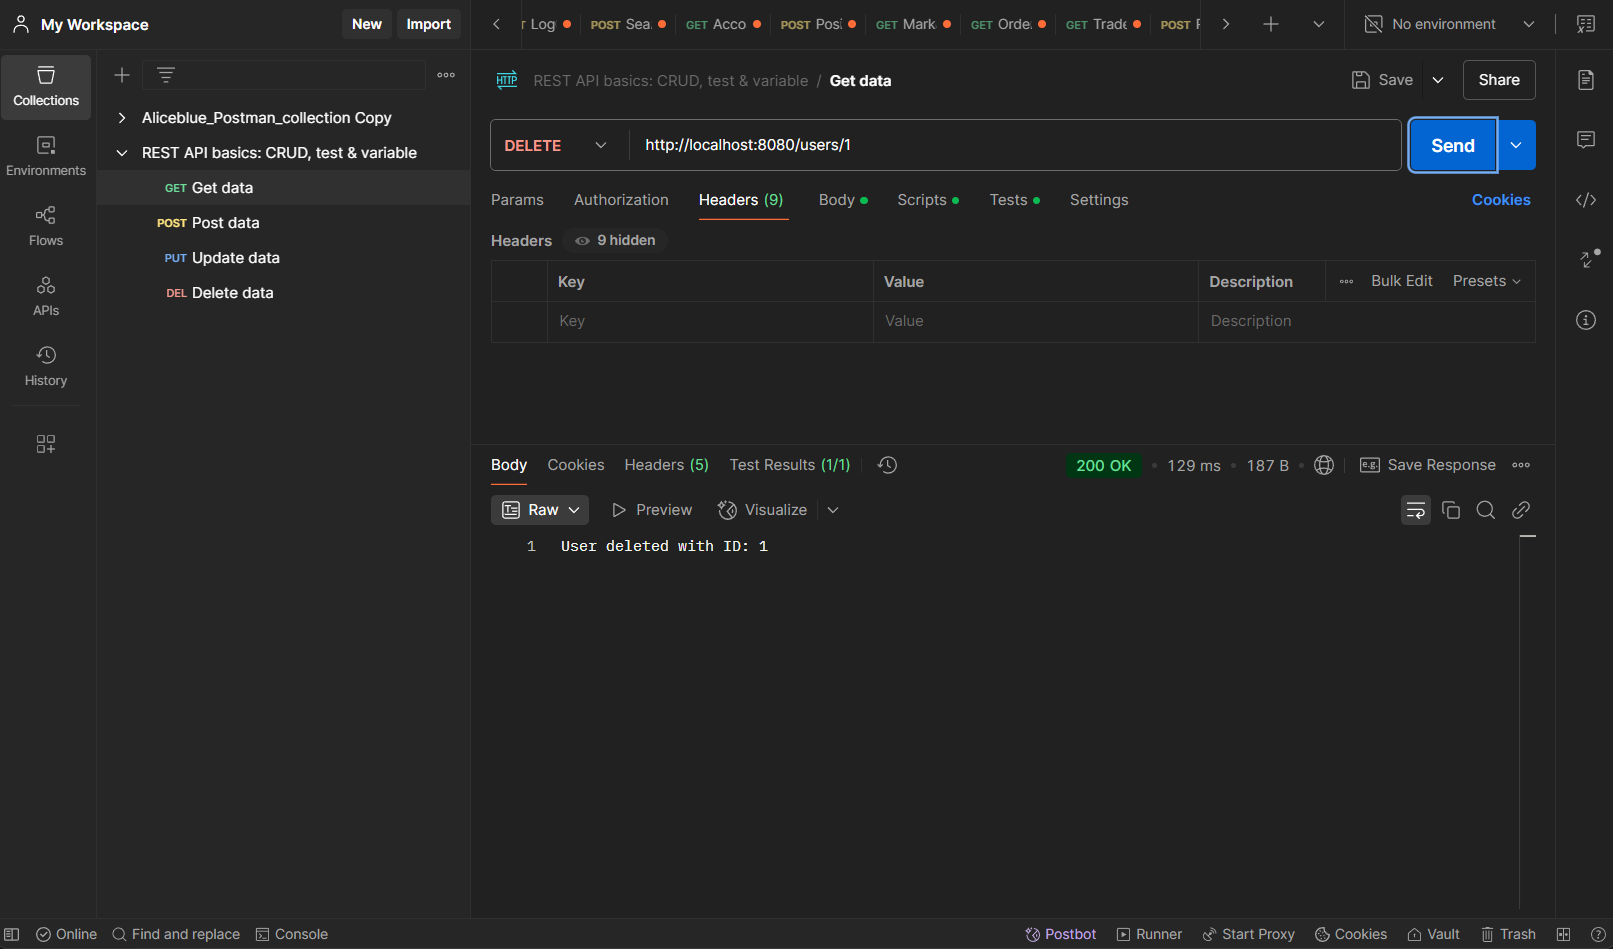
// ✅ Delete user
@DeleteMapping("/{id}")
public String deleteUser(@PathVariable Long id) {
userService.deleteUser(id);
return "User deleted with ID: " + id;
}
}
Running the Spring Boot Application
Run the application using your IDE or with the following Maven command:
mvn spring-boot:run
Spring Boot starts an embedded Tomcat server (default: http://localhost:8080).
Testing the REST API with Postman:
Once the application is running, test the endpoints:
Get All Users
Create a New User

Get a Single User by ID
Update a User
Delete a User